Mastering the Art of Connection: A Comprehensive Guide to Pipe Coupling Types
January 6, 2024
Coupling Pipe Fittings: Safely Link Your Project
June 20, 2024Have you ever smiled while staring down a leaky pipe? You’re not by yourself. Plumbing difficulties can be annoying, but you can solve a lot of them on your own with a little knowledge. The basic ability for extending pipe lengths, fixing leaks, and even changing pipe diameters is Coupling Pipes. With the help of this in-depth instruction, you can master pipe coupling!
Understanding the Power of Couplings
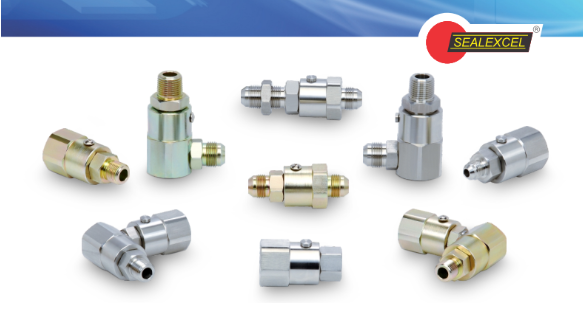
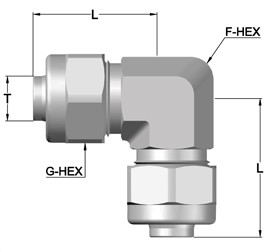
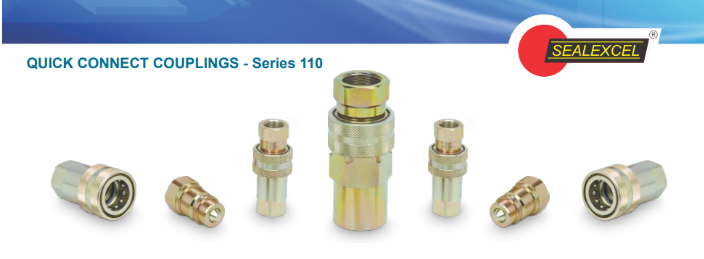
The unseen heroes of the plumbing world are couplings, which are little segments of pipe with unique features on both ends. They can securely attach two pipes thanks to certain features, such as threads or sockets. They are available in many varieties, each appropriate for a particular use. A list of the most common ones is provided below:
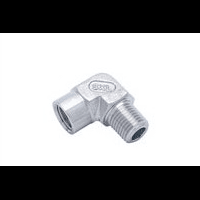
- Threaded Couplings: Internal threads are included on both ends of these workhorses. Using Teflon tape or pipe dope, a sealant, they screw into pipes with matching exterior threads to form a tight seal.
- Slip Couplings: Slip couplings glide across one pipe and grab the other. They have a broader socket on one end and a narrower insert on the other. A rubber ring inside the socket is compressed when a compression nut is tightened, creating a tight seal.
- Solvent Cement Couplings: These couplings, which are mostly used for PVC pipes, use a unique solvent cement. When the cement cures, it gently melts the pipe and coupling surfaces, fusing them into a permanent, leak-proof bond.
- Compression Couplings: These have a narrower insert on one end and a wider socket on the other, much like slip couplings. They use a compression ring, which tightens around the inserted pipe to create a seal, in place of a compression nut.
Choosing the Right Coupling Pipes: A Matchmaker for Pipes
Three things are crucial when choosing the ideal coupling:
- Pipe Material: Different coupling types are needed for different materials. For instance, PVC pipes work best with solvent cement couplings, but metal pipes work better with threaded couplings.
- Pipe Diameter: To fit the diameter of your pipes, couplings are available in a range of sizes. Make sure that the external diameter of your pipe and the coupling’s internal diameter (for threaded and slip couplings) or socket size (for solvent cement) match exactly.
- Application: Think about the connection’s goal. Solvent cement couplings are an excellent option if you require an unwavering, long-lasting junction. Threaded or compression couplings provide a more flexible connection that is designed to accommodate future changes.
The Art of Coupling Pipes: A Step-by-Step Guide
After selecting your champion Coupling Pipes, it’s time to make sure the connection is leak-proof! Here’s a general overview, bearing in mind that certain steps may differ slightly based on the type of coupling:
- Gather Your Supplies: Along with your chosen couplings and pipes, you’ll also need rags, a pipe cutter, sandpaper for PVC pipes, solvent cement for PVC pipes, and wrenches for threaded couplings.
- Prepare the Pipes: Make sure the cuts on your pipes are square and clean by using a pipe cutter. To increase adherence for PVC pipes, lightly sand the insert ends and socket.
- Apply Sealant (if applicable): Teflon tape should be wrapped around the male threads of threaded couplings multiple times in a clockwise direction, beginning at the base. Make that the rubber ring in the compression coupling is correctly seated in the socket.
- Make the Connection: When using threaded couplings, start by hand-tightening the coupling onto each pipe. Next, use tools to tighten even further, being careful not to overtighten as this could harm the threads.
Insert the other pipe into the slip coupling socket after sliding the socket over the first pipe until it reaches the stop. Using a driving tool, tighten the compression nut until it is secure but not too tight.
Apply a thin layer of cement to the pipe’s insert and socket ends for solvent cement connections. Press the parts together as soon as possible, and keep them there tightly for the duration of the cement’s suggested cure period.
- Leak Check: After making the connection, carefully switch on the water supply and check the junction for leaks with a visual inspection. Retighten the connection (for threaded or compression) if you notice any leakage.
Beyond the Basics: Troubleshooting Common Coupling Issues
Even the most careful do-it-yourselfer may run across small problems. Here’s how to handle a few typical coupling issues:
- Over-tightening: This may cause the coupler to break or harm the threads. Should you have any suspicions, swap out the coupler and begin again. Instead of using force, use tools as strength.
- Uneven Cuts: An uneven or jagged pipe end will not provide a good seal. Make sure the cut is square and clean by using a sharp pipe cutter.
- Leaking Threaded Couplings: Verify your application of Teflon tape twice. Leaks may result from uneven wrapping or insufficient layering. Retighten and rewrap the coupler.
- Leaking Slip Couplings: Make sure the compression nut is secure but not too tight. Leaks may also result from a worn-out rubber ring. In case the ring needs to be changed.
- Leaking Solvent Cement Couplings: This typically denotes an incorrect holding time or insufficient cement application. Try covering a little leak with a thin layer of solvent cement while the joint is still somewhat damp if it continues. Larger leaks may require replacing the joint entirely.
Safety First: Essential Precautions
When working with plumbing, safety comes first at all times. These are important things to keep in mind:
- Turn off the water supply: Find the shut-off valve for the particular pipe you’ll be working on and cut off the water supply before beginning any work.
- Use proper tools: Having the proper tools makes the work safer and easier. Make sure you have a sharp pipe cutter for precise cuts and the appropriate size wrenches for threaded couplings.
- Work in a well-ventilated area: There may be vapors from some sealants or coupling materials. Utilize ventilation or open windows to prevent breathing in dangerous vapors.
- Wear protective gear: Safety glasses and gloves are essential to protect your eyes and hands from potential splashes or cuts.
The Final Drip: Confidence in Coupling
You may overcome leaky pipes and make safe connections by being aware of the many coupling types, choosing the appropriate one, and following these instructions. Recall that taking on plumbing tasks can be empowering. You will become a proficient pipe-coupling do-it-yourselfer in no time with a little practice and the knowledge you will acquire from this book!
Note: This guide provides general information. For complex plumbing issues or situations involving gas lines, it’s always recommended to consult a licensed plumber.

