INSTALLATION INSTRUCTIONS
ASSEMBLY IN FITTING BODY WITHOUT USING PRE-ASSEMBLY BODY.
1
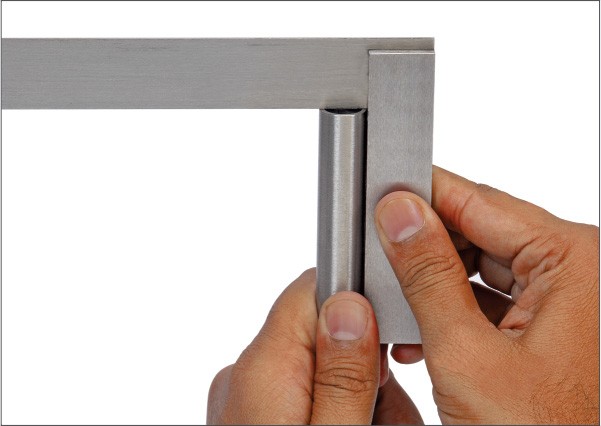
Ensure that the end of Tube is cut square within + 1/2º angle to the tube axis.
Remove the burs and sharp edges to the maximum chamfer 0.2 mm x 45º at both inside and outside edge of the tube.
2

Lubricate the thread and cone of the fitting body, Bite Ring and thread of the nut.
3
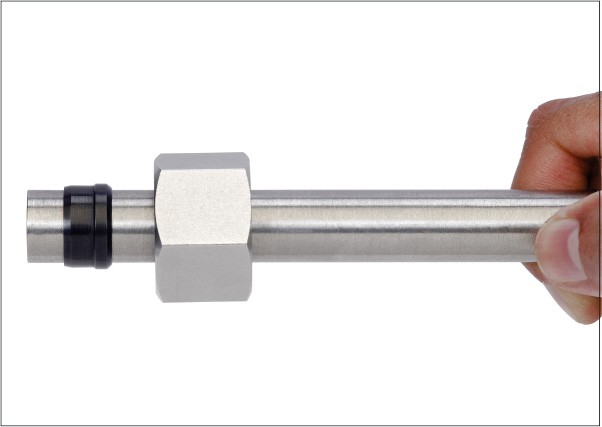
Insert the Nut and Bite Ring over tube end.
4
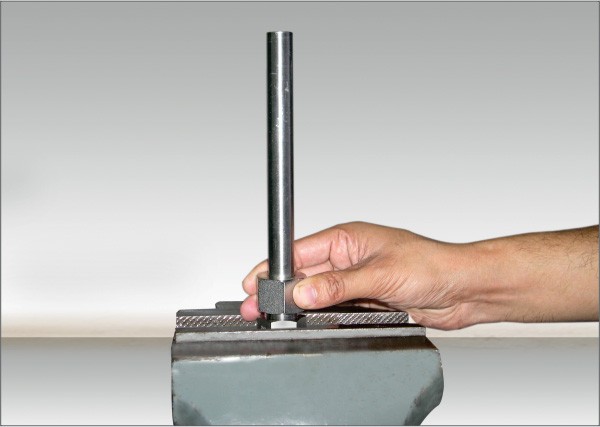
Screw on Nut manually on to pre-assembly body until finger tight, hold tube against the shoulder in the cone of pre-assembly body
5
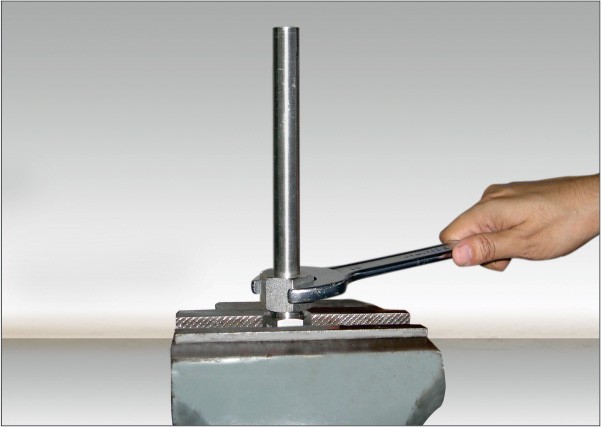
Tighten the Nut with wrench 1 turn from the finger tight position.
6
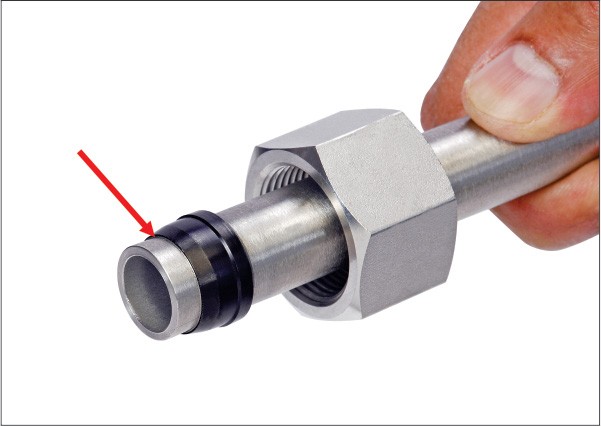
Loosen the Nut, remove the tube from the pre-assembly body, check the penetration of cutting edge. A visible collar fills space in front of first cutting edge completely. It does not matter even Bite Ring rotate on tube end.
7
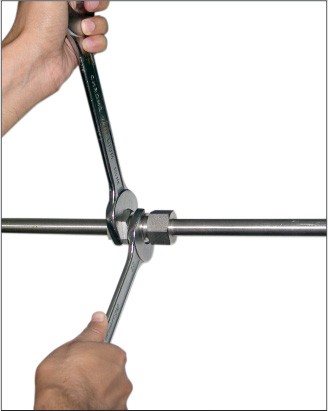
Repeated Assembly
Each time the fitting is disassembled, the nut must be re-tightened firmly using the same torque as required for final assembly
8
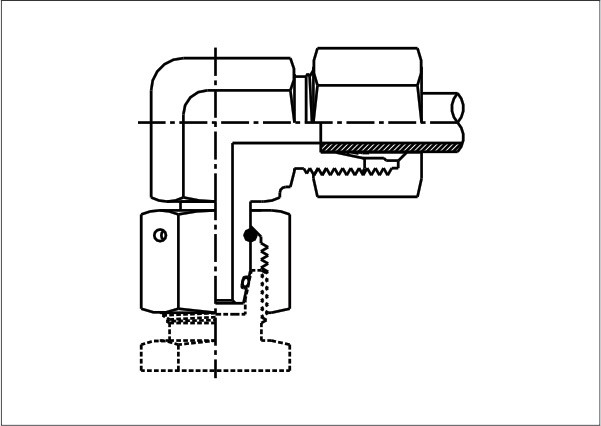
Final assembly of Taper fittings
After applying oil on O-Ring, tighten the Nut 1/3 of a turn beyond the point of noticeable resistance
ASSEMBLY OF SUPPORT SLEEVES
1
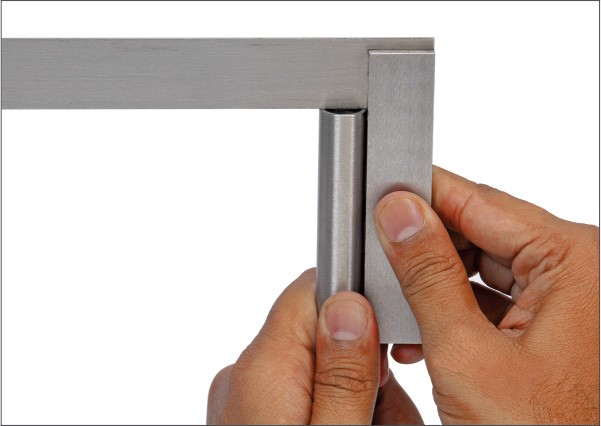
Ensure that the end of Tube is cut square within + 1/2º angle to the tube axis.
Remove the burs and sharp edges to the maximum chamfer 0.2 mm x 45º at both inside and outside edge of the tube.
2
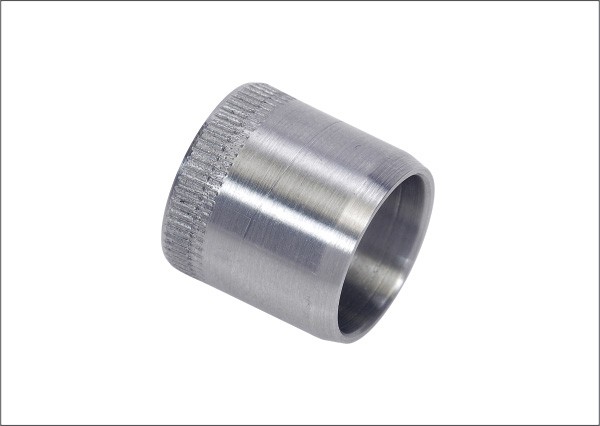
Support Sleeve
3
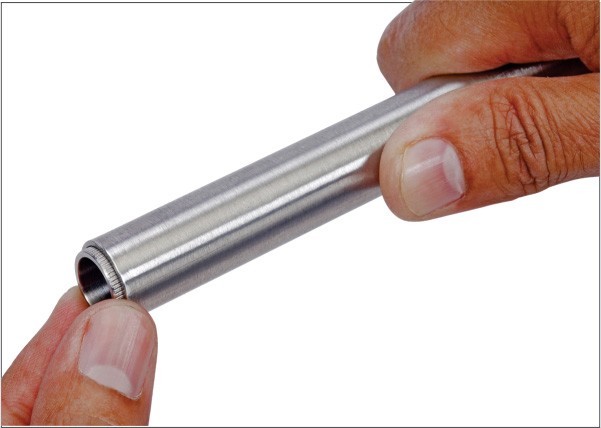
Insert support sleeve up to knurl.
4
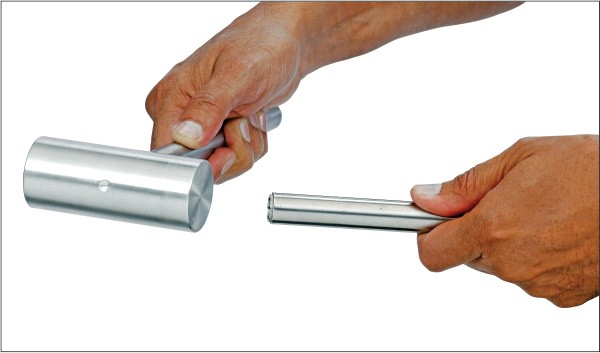
Drive knurl edge into tube
(use soft hammer)
5
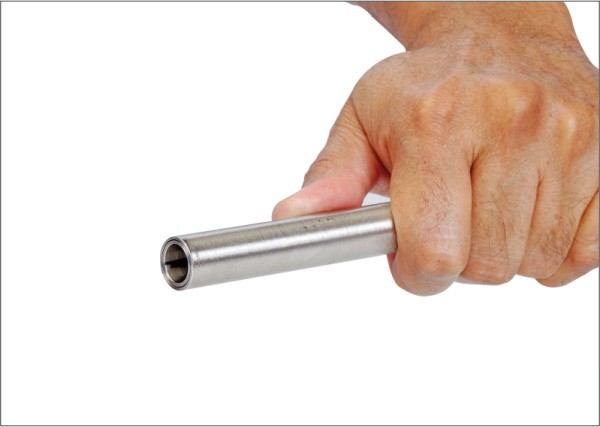
Ensure support sleeve is flush with tube end.
6
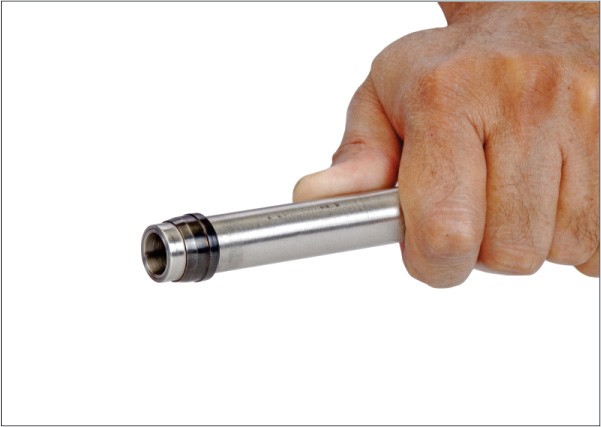
No tube necking after assembly with support sleeve.
